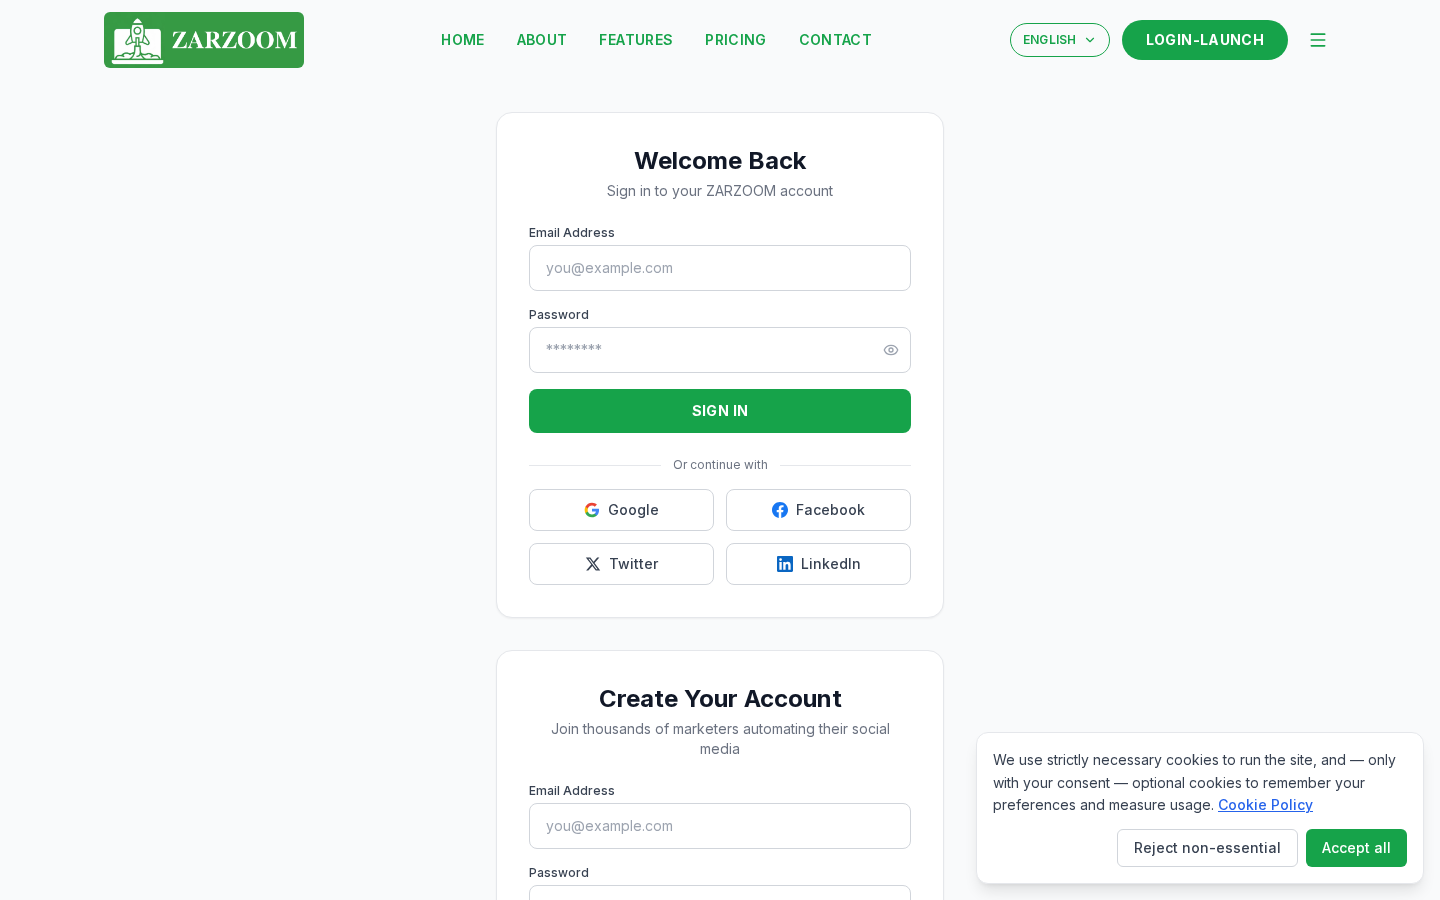
Step 1: Go to the sign-in page
Open your browser and navigate to zarzoom.com/login-launch. Click Create an account beneath the sign-in form.
Step 2: Enter your account details
Fill in your name, email address, and a password. Accept the Terms of Service and Privacy Policy, then click Create account. ZARZOOM will send a verification email to the address you provided.
Step 3: Verify your email address
Open the verification email and click the confirmation link inside it. You will be taken back to ZARZOOM and the setup wizard will launch automatically.
Step 4: Describe your business
The first screen of the setup wizard asks about your business. Enter your business name, select your industry from the dropdown list, and add a short description of what you do. Click Next when you are ready.
Step 5: Define your audience
On the audience screen, describe who your content is aimed at. You can specify details such as age range, interests, and the platforms your audience uses most. ZARZOOM uses this information to shape the topics and formats it suggests for your posts. Click Next to continue.
Step 6: Choose your tone of voice
Select the tone that best matches how you want to communicate with your audience. The available options range from Professional and Authoritative through to Friendly and Conversational. You can pick one tone or combine two. Click Next.
Step 7: Set your language and region
Choose the language your posts should be written in and select your region. The region setting helps ZARZOOM align content with local events, dates, and cultural references relevant to your market. Click Next.
Step 8: Review and confirm your settings
The wizard displays a summary of everything you have entered — business details, audience, tone, and language. Check each section. If anything needs changing, click Edit next to that section. When you are satisfied, click Finish setup.
Step 9: Wait for your calendar to populate
After you click Finish setup, ZARZOOM processes your settings and begins generating your initial content plan. Your Content Calendar will start filling with scheduled post ideas within a few minutes. You will see a notification inside the dashboard when the first batch of content is ready to review.
Step 10: Review your first posts
Open the Content Calendar from the left-hand navigation menu. Each scheduled item shows a draft post, the suggested platform, and the planned publish date and time. You can approve, edit, or delete any item before it goes live.
Good to know
- You can revisit your wizard settings at any time. Go to Settings → Workspace to update your business description, audience, tone, or language. Changes apply to newly generated content, not posts already in your calendar.
- The calendar fills based on the platforms you connect. If you have not yet linked any social media accounts, ZARZOOM will still generate draft content, but posts cannot be published until at least one account is connected.
- Each workspace represents one business. If you manage more than one business, you will need a separate workspace for each one.