Step 1: Check your plan includes presenter videos
Presenter videos are available on the Spotlight and Powerhouse plans only. If you are on a lower plan, you will need to upgrade before the options in this guide appear in your dashboard. Log in at zarzoom.com/login-launch and check your current plan under Account → Subscription.
Step 2: Navigate to Presenter Settings
From your main dashboard, select Presenters & Voices in the left-hand navigation menu. This opens the presenter management area where you can upload a photo and configure your voice.
Step 3: Upload your presenter photo
- Click Add Presenter.
- Select Upload Photo and choose an image file from your device. ZARZOOM accepts JPG and PNG files.
- Use a clear, front-facing photo with good lighting and a plain or simple background for the best results.
- Crop the image using the on-screen tool if needed, then click Save Presenter.
Your photo is processed into an AI presenter. This may take a few minutes. You will see a Ready status label once processing is complete.
Step 4: Choose how to add a voice
You have two options:
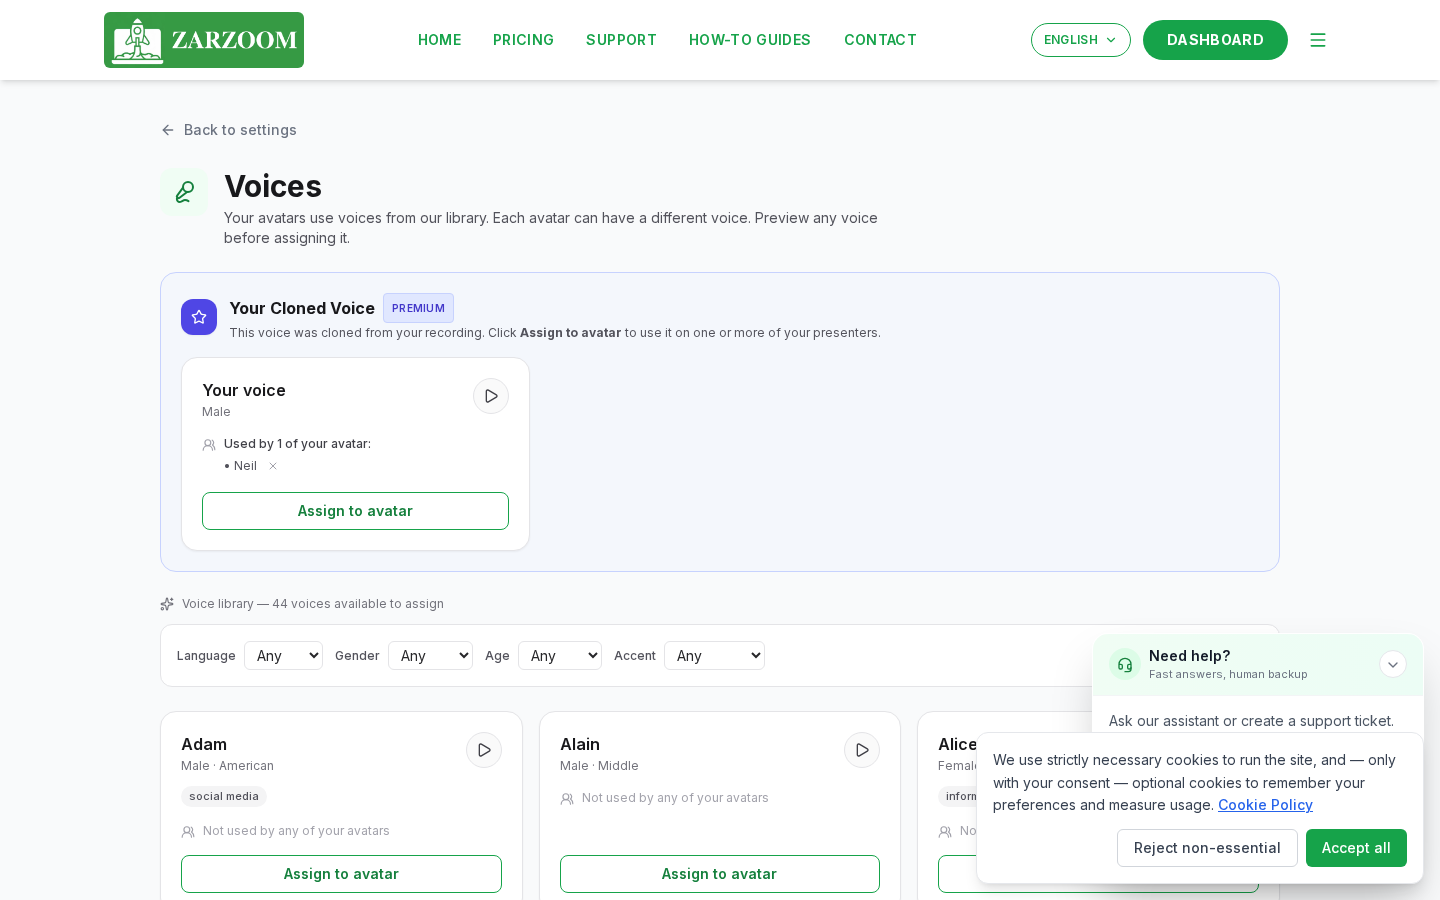
Option A — Voice Library Browse the built-in voice library by clicking Choose from Library. Filter by language, accent, or tone. Click any voice to hear a preview, then click Select to assign it to your presenter.
Option B — Voice Cloning To use your own voice, click Clone My Voice. Follow the on-screen prompts to record or upload a short audio sample. ZARZOOM analyses the sample and generates a cloned voice model. Once the status shows Clone Ready, select it as your presenter’s voice.
Voice cloning is available on both Spotlight and Powerhouse plans.
Step 5: Review and edit your script before rendering
When ZARZOOM generates a video, it produces a script automatically based on your content settings. Before the video renders in full, you have the opportunity to review and edit this script.
- When a new video is queued, open it from the Pending Videos section of your dashboard.
- Click Edit Script to open the script editor.
- Make any changes to wording, phrasing, or length directly in the text field.
- Click Approve & Render when you are satisfied. The video will then render with your presenter and chosen voice using the finalised script.
If you do not edit the script within the review window, ZARZOOM will render the video automatically using the original generated script.
Step 6: Preview your presenter video
Once rendering is complete, the video appears in your Content Library. Click the thumbnail to preview it before it is scheduled or published to your connected social accounts.
If you are not happy with the result, click Regenerate to produce a new version, or return to Presenters & Voices to adjust your photo or voice selection.
Good to know
- Plan requirement: The Presenters & Voices section will not appear in your dashboard if you are on a plan below Spotlight. Upgrade via Account → Subscription at zarzoom.com/login-launch.
- Voice cloning audio quality: The accuracy of a cloned voice depends on the clarity of your recorded or uploaded sample. Record in a quiet environment and avoid background noise for the closest match to your natural voice.
- Script review window: There is a fixed window of time to edit your script before automatic rendering begins. Check your dashboard promptly after a video is queued if you want to make changes before it renders.